

What the connection reads
Install
- Open Settings > Integrations in the dashboard.
- Click Connect on the GitLab card.
- Paste an access token and your GitLab instance URL (for example
https://gitlab.comor your self-managed base URL).
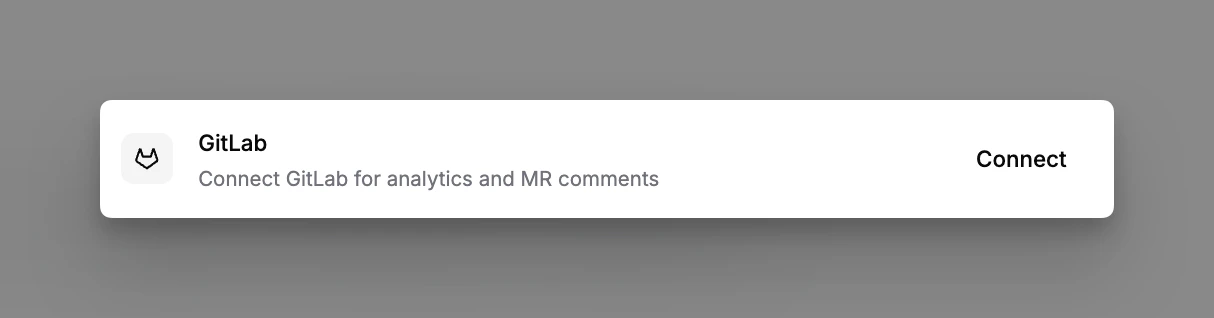
GitLab integration settings
Which token to use
Required scope:read_api (the broader api scope also works).
Gotchas
- Token expiry. Project and personal tokens carry a GitLab expiry date. When the token lapses, Momentic can no longer resolve branches or MRs; rotate the token in GitLab and paste the new one into the integration card.
- PAT visibility. A personal token exposes every project its owner can read. Prefer a project access token when one project is enough.
- Self-managed instances. The instance URL must be reachable from Momentic’s services; a cloud connection cannot reach a VPN-only GitLab.
- Runs still start in CI. GitLab does not trigger Momentic runs. Run the CLI from your pipeline: see GitLab CI/CD for the ready-to-paste job.
Disconnect or revoke
- Disconnect on the GitLab card in Settings > Integrations.
- Revoke the token under the user’s or project’s Settings > Access tokens in GitLab. Revoking takes effect immediately; the Momentic side shows the connection as broken until you replace it.