Quickstart
CLI
This quickstart guide will walk you through the process of building and running your first test locally and integrated into CI/CD with the Momentic CLI
Prerequisite: Please install Node.js (version 18
or higher) before proceeding.
package.json file. If you don’t, make sure to run npm init or yarn init to create the file beforehand.
Get your API key
To get started, log in to Momentic Cloud and generate an API key.
.bashrc or .zshrc) like so:
Install the Momentic CLI
Install the CLI, momentic, by running the following command in your terminal:Install browsers
Momentic relies on headless browsers that must be installed. To install all available browsers:Initialize a new project
To create a new Momentic project, run the following command in your terminal:Start the Momentic Local App
Start the Local App by running the following command in your terminal: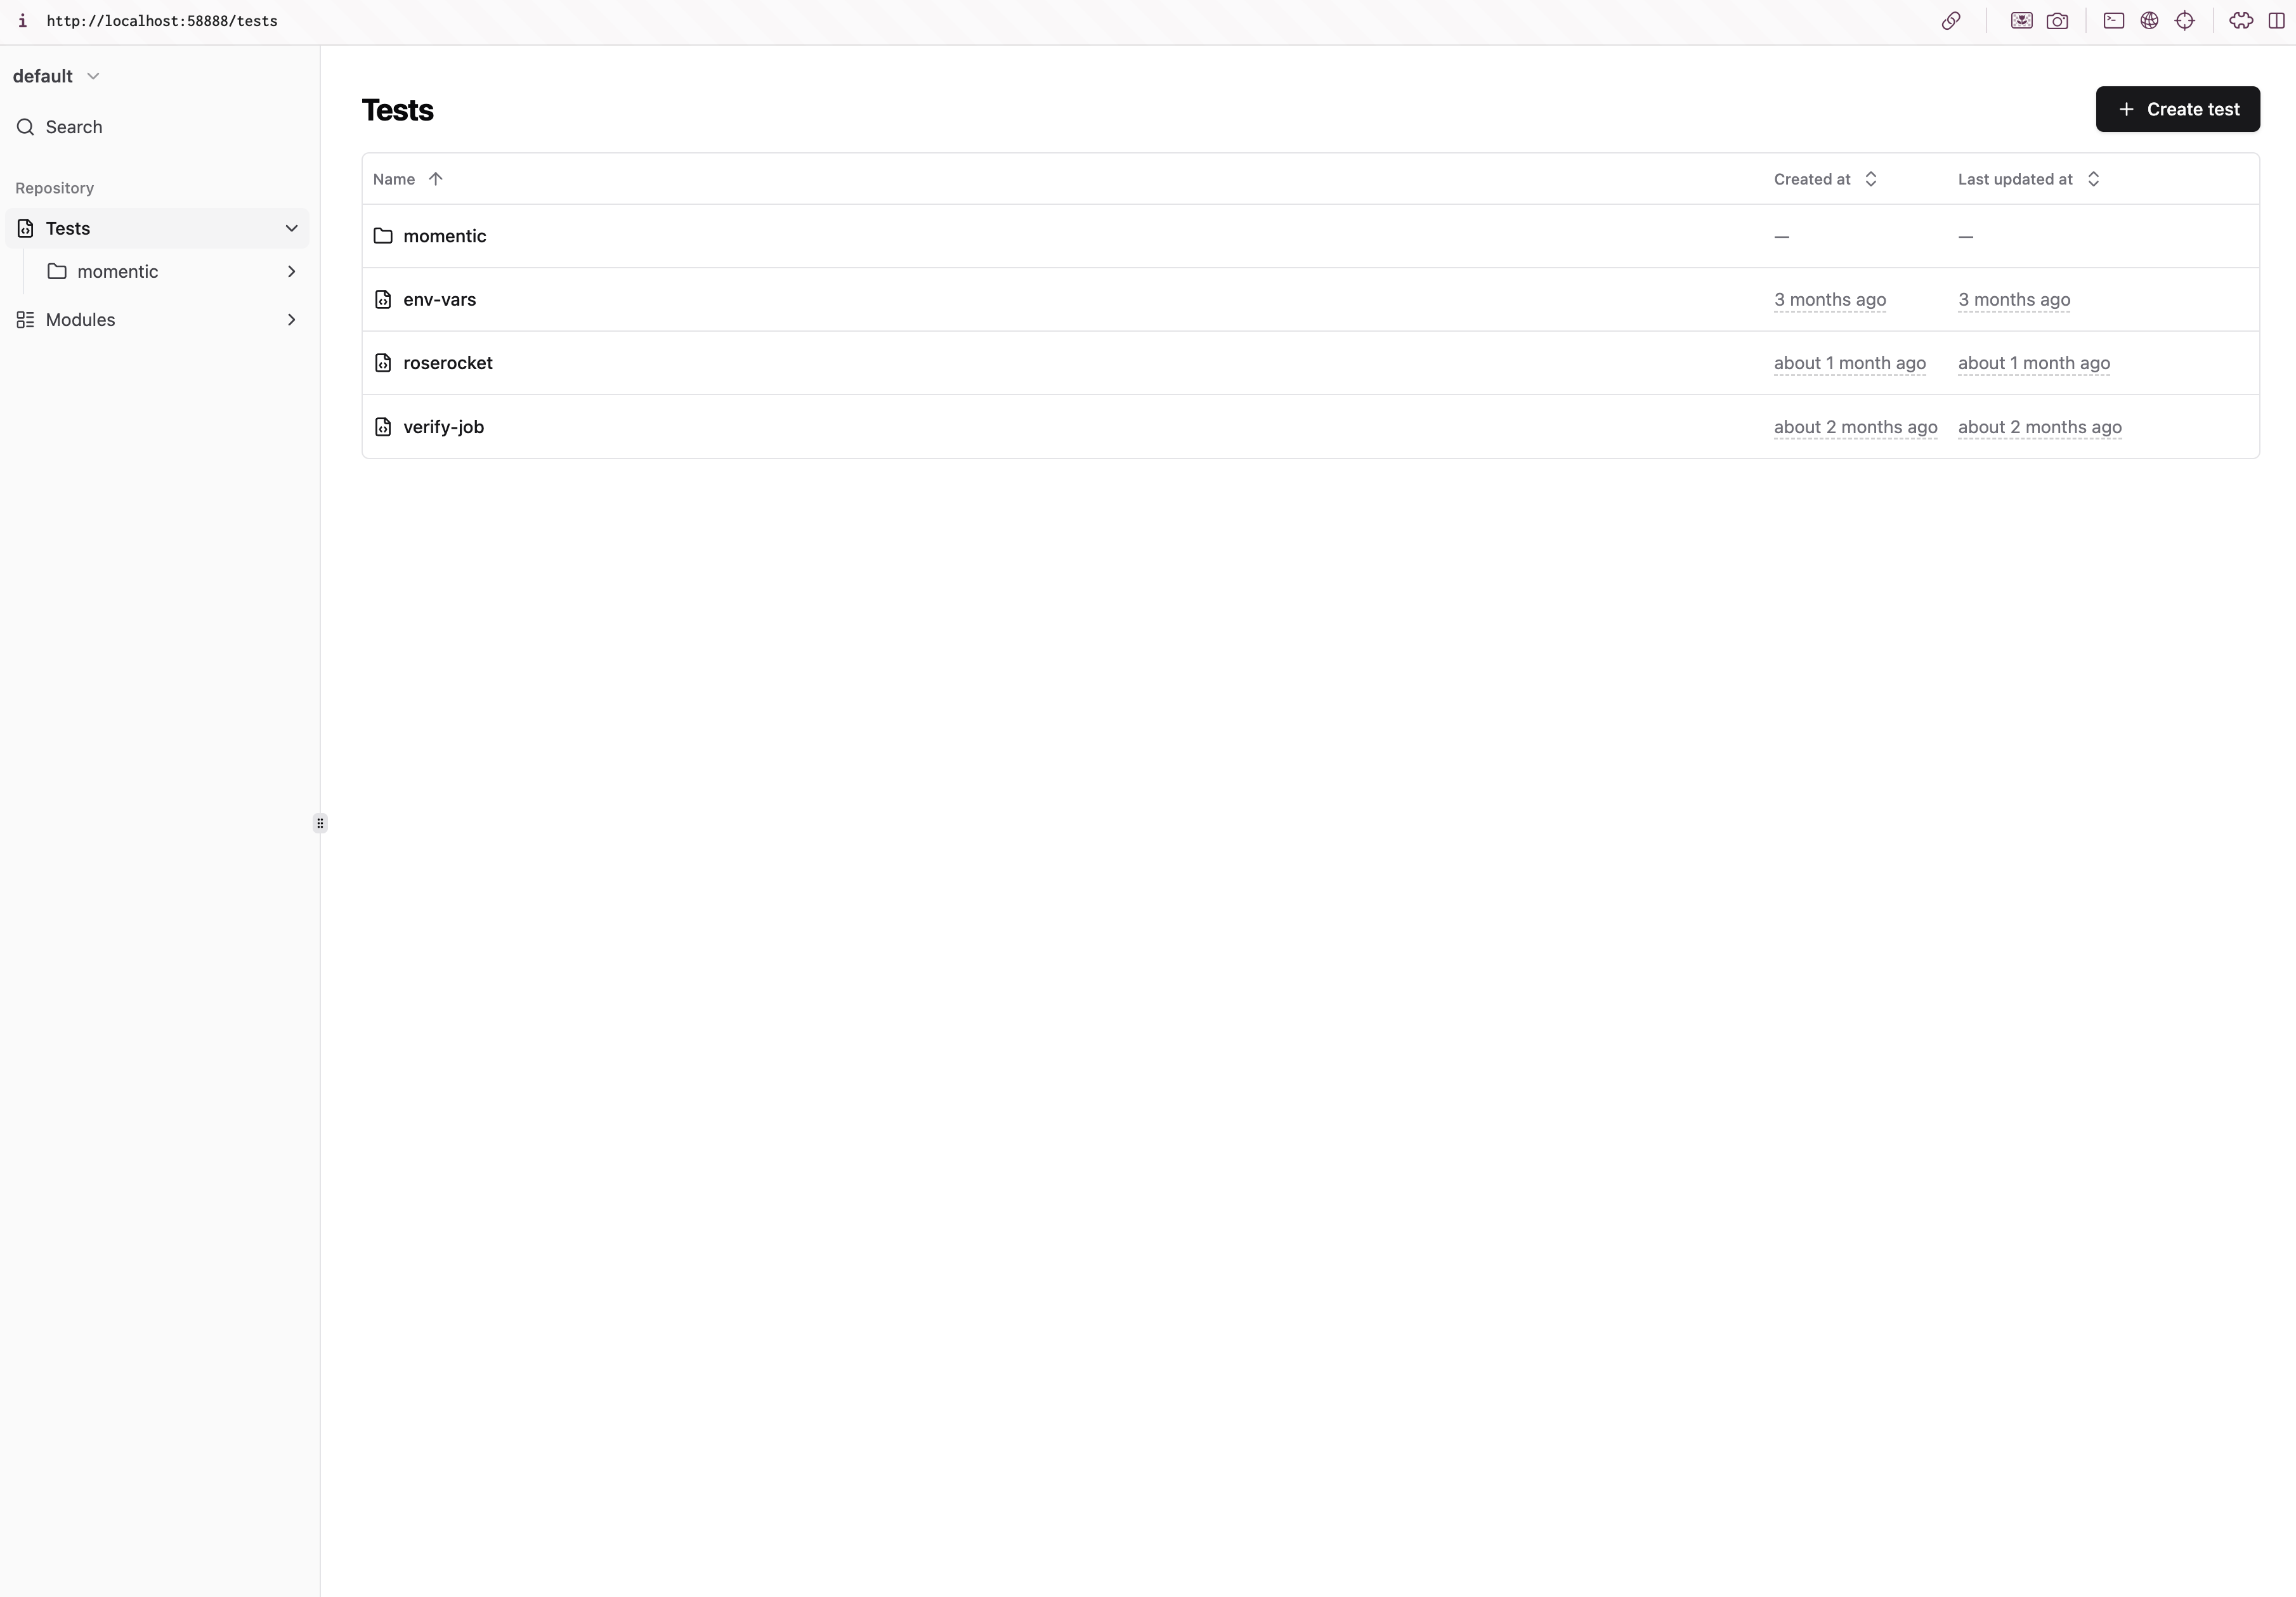
Create a test
Click on the Create test button in the top-right corner.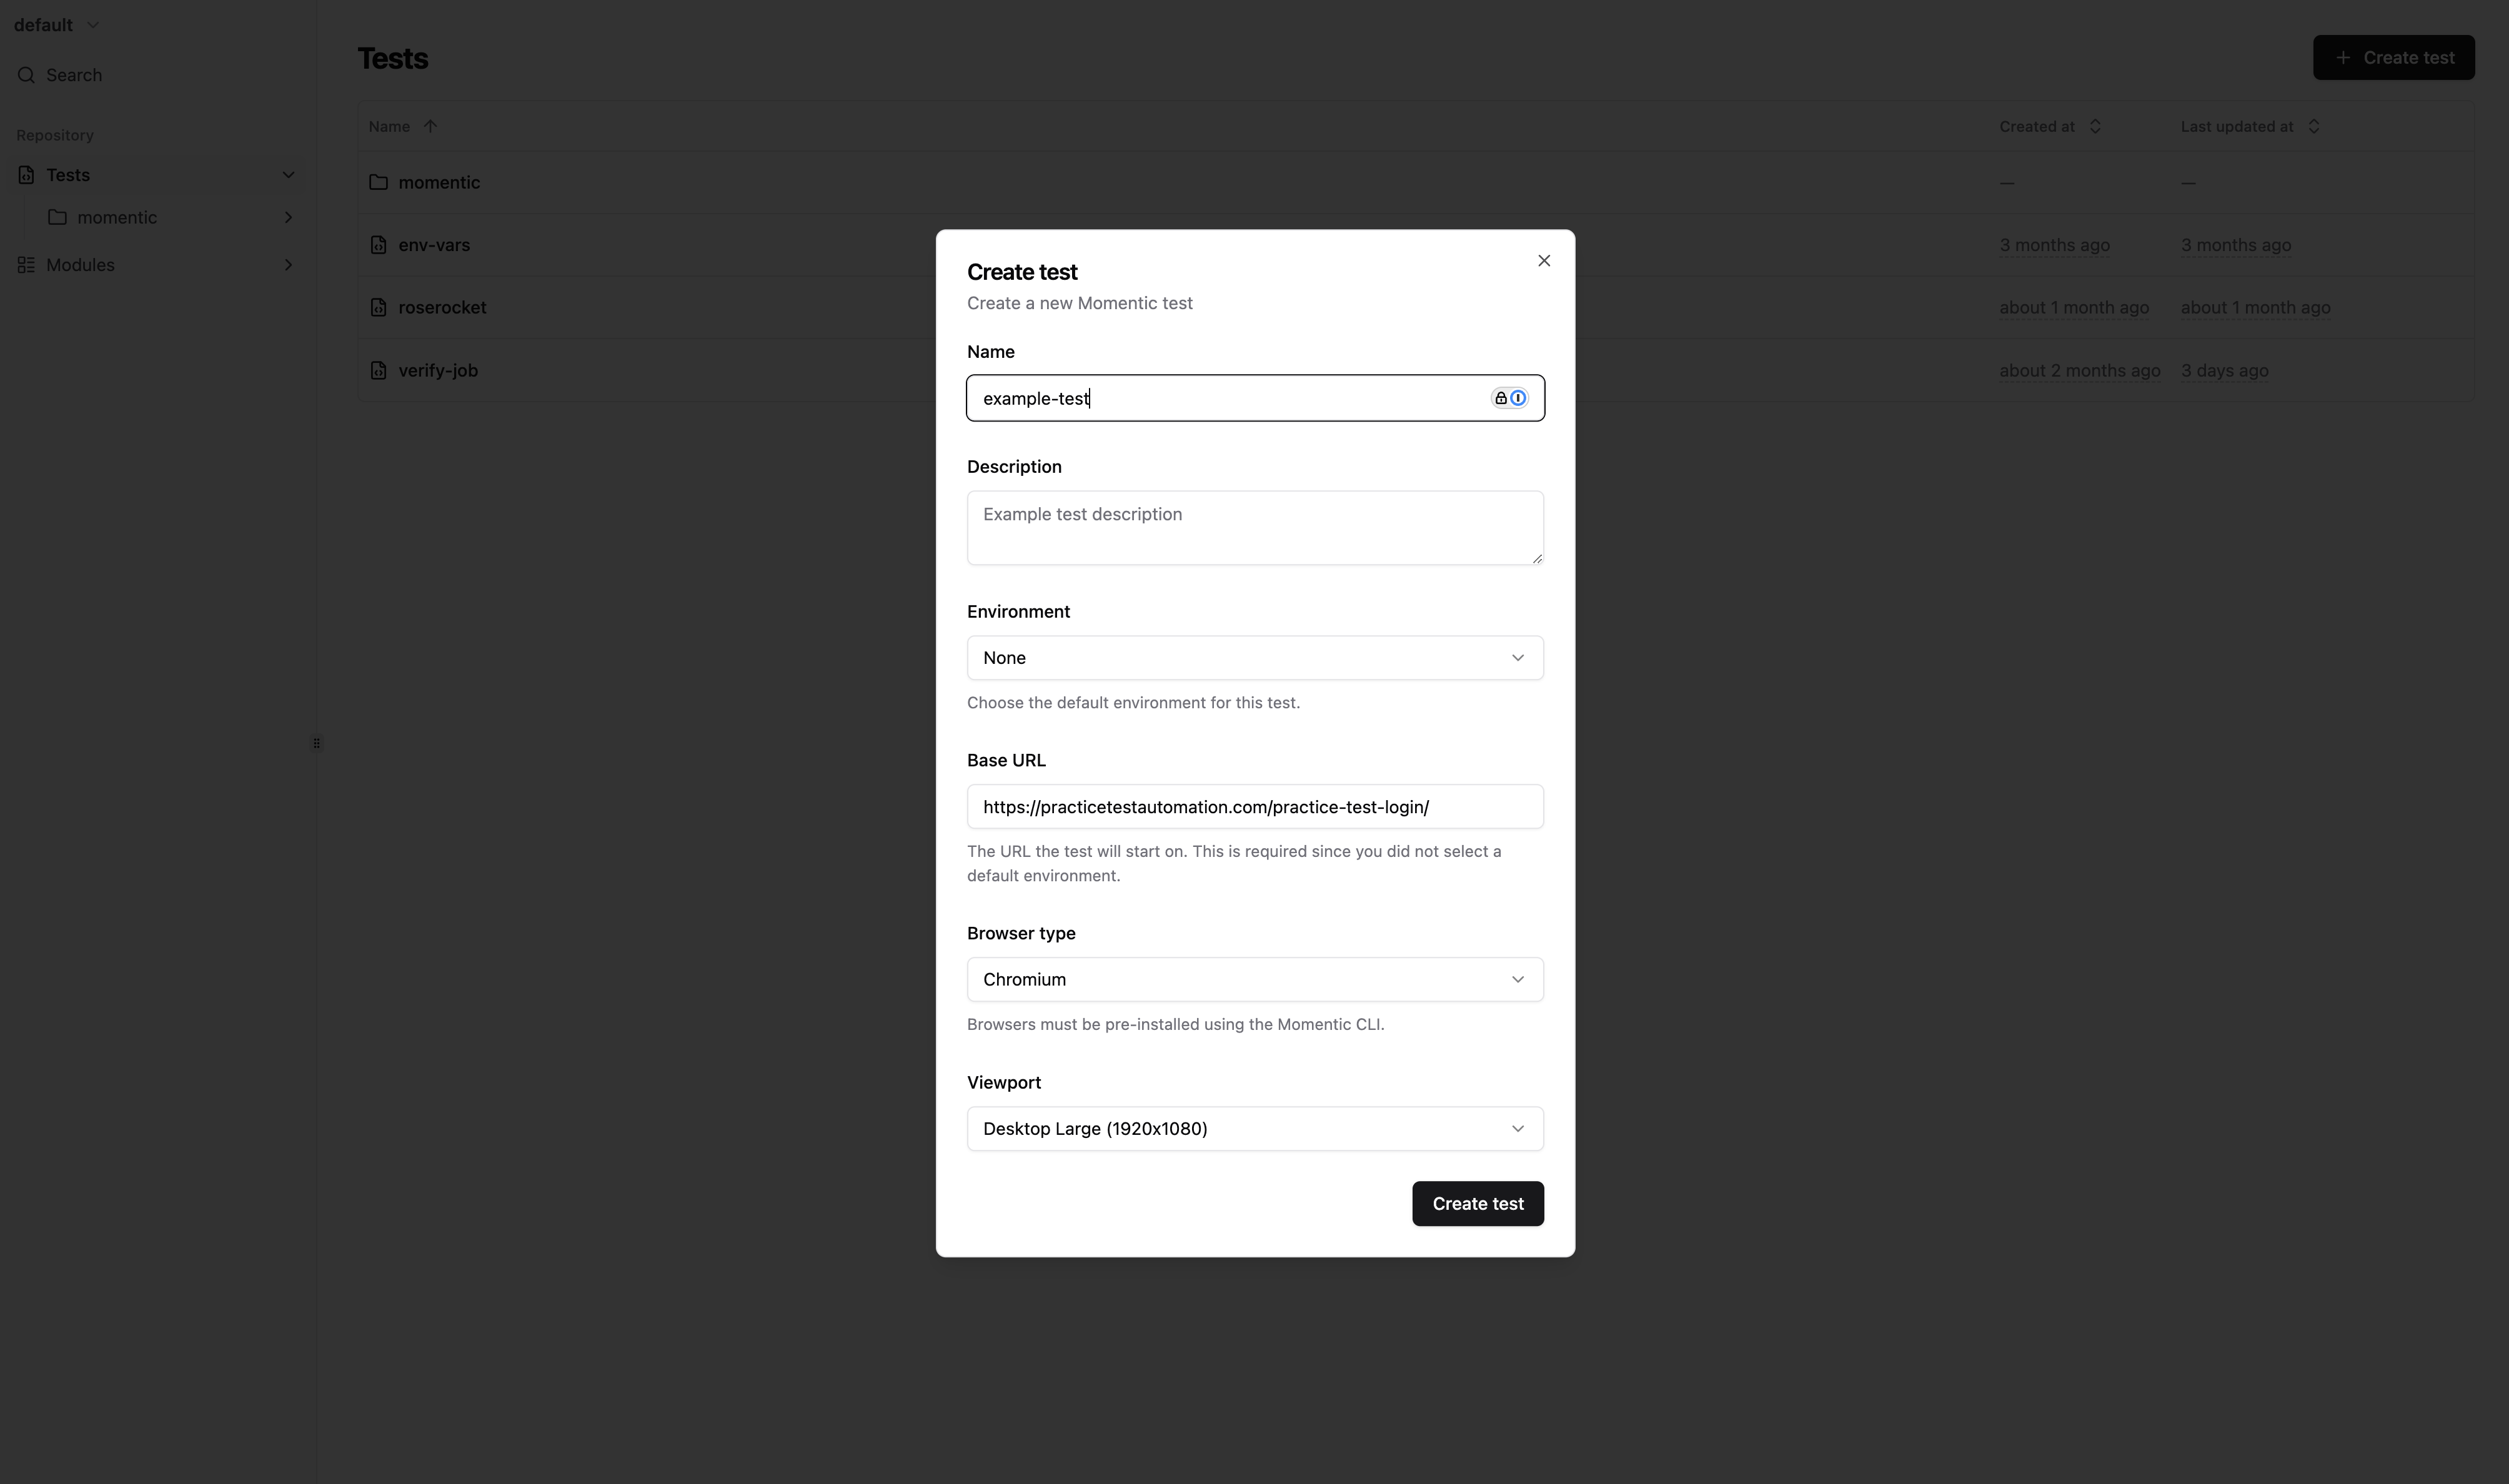
- Name:
example-test - Base URL:
https://practicetestautomation.com/practice-test-login/(a demo site for testing)
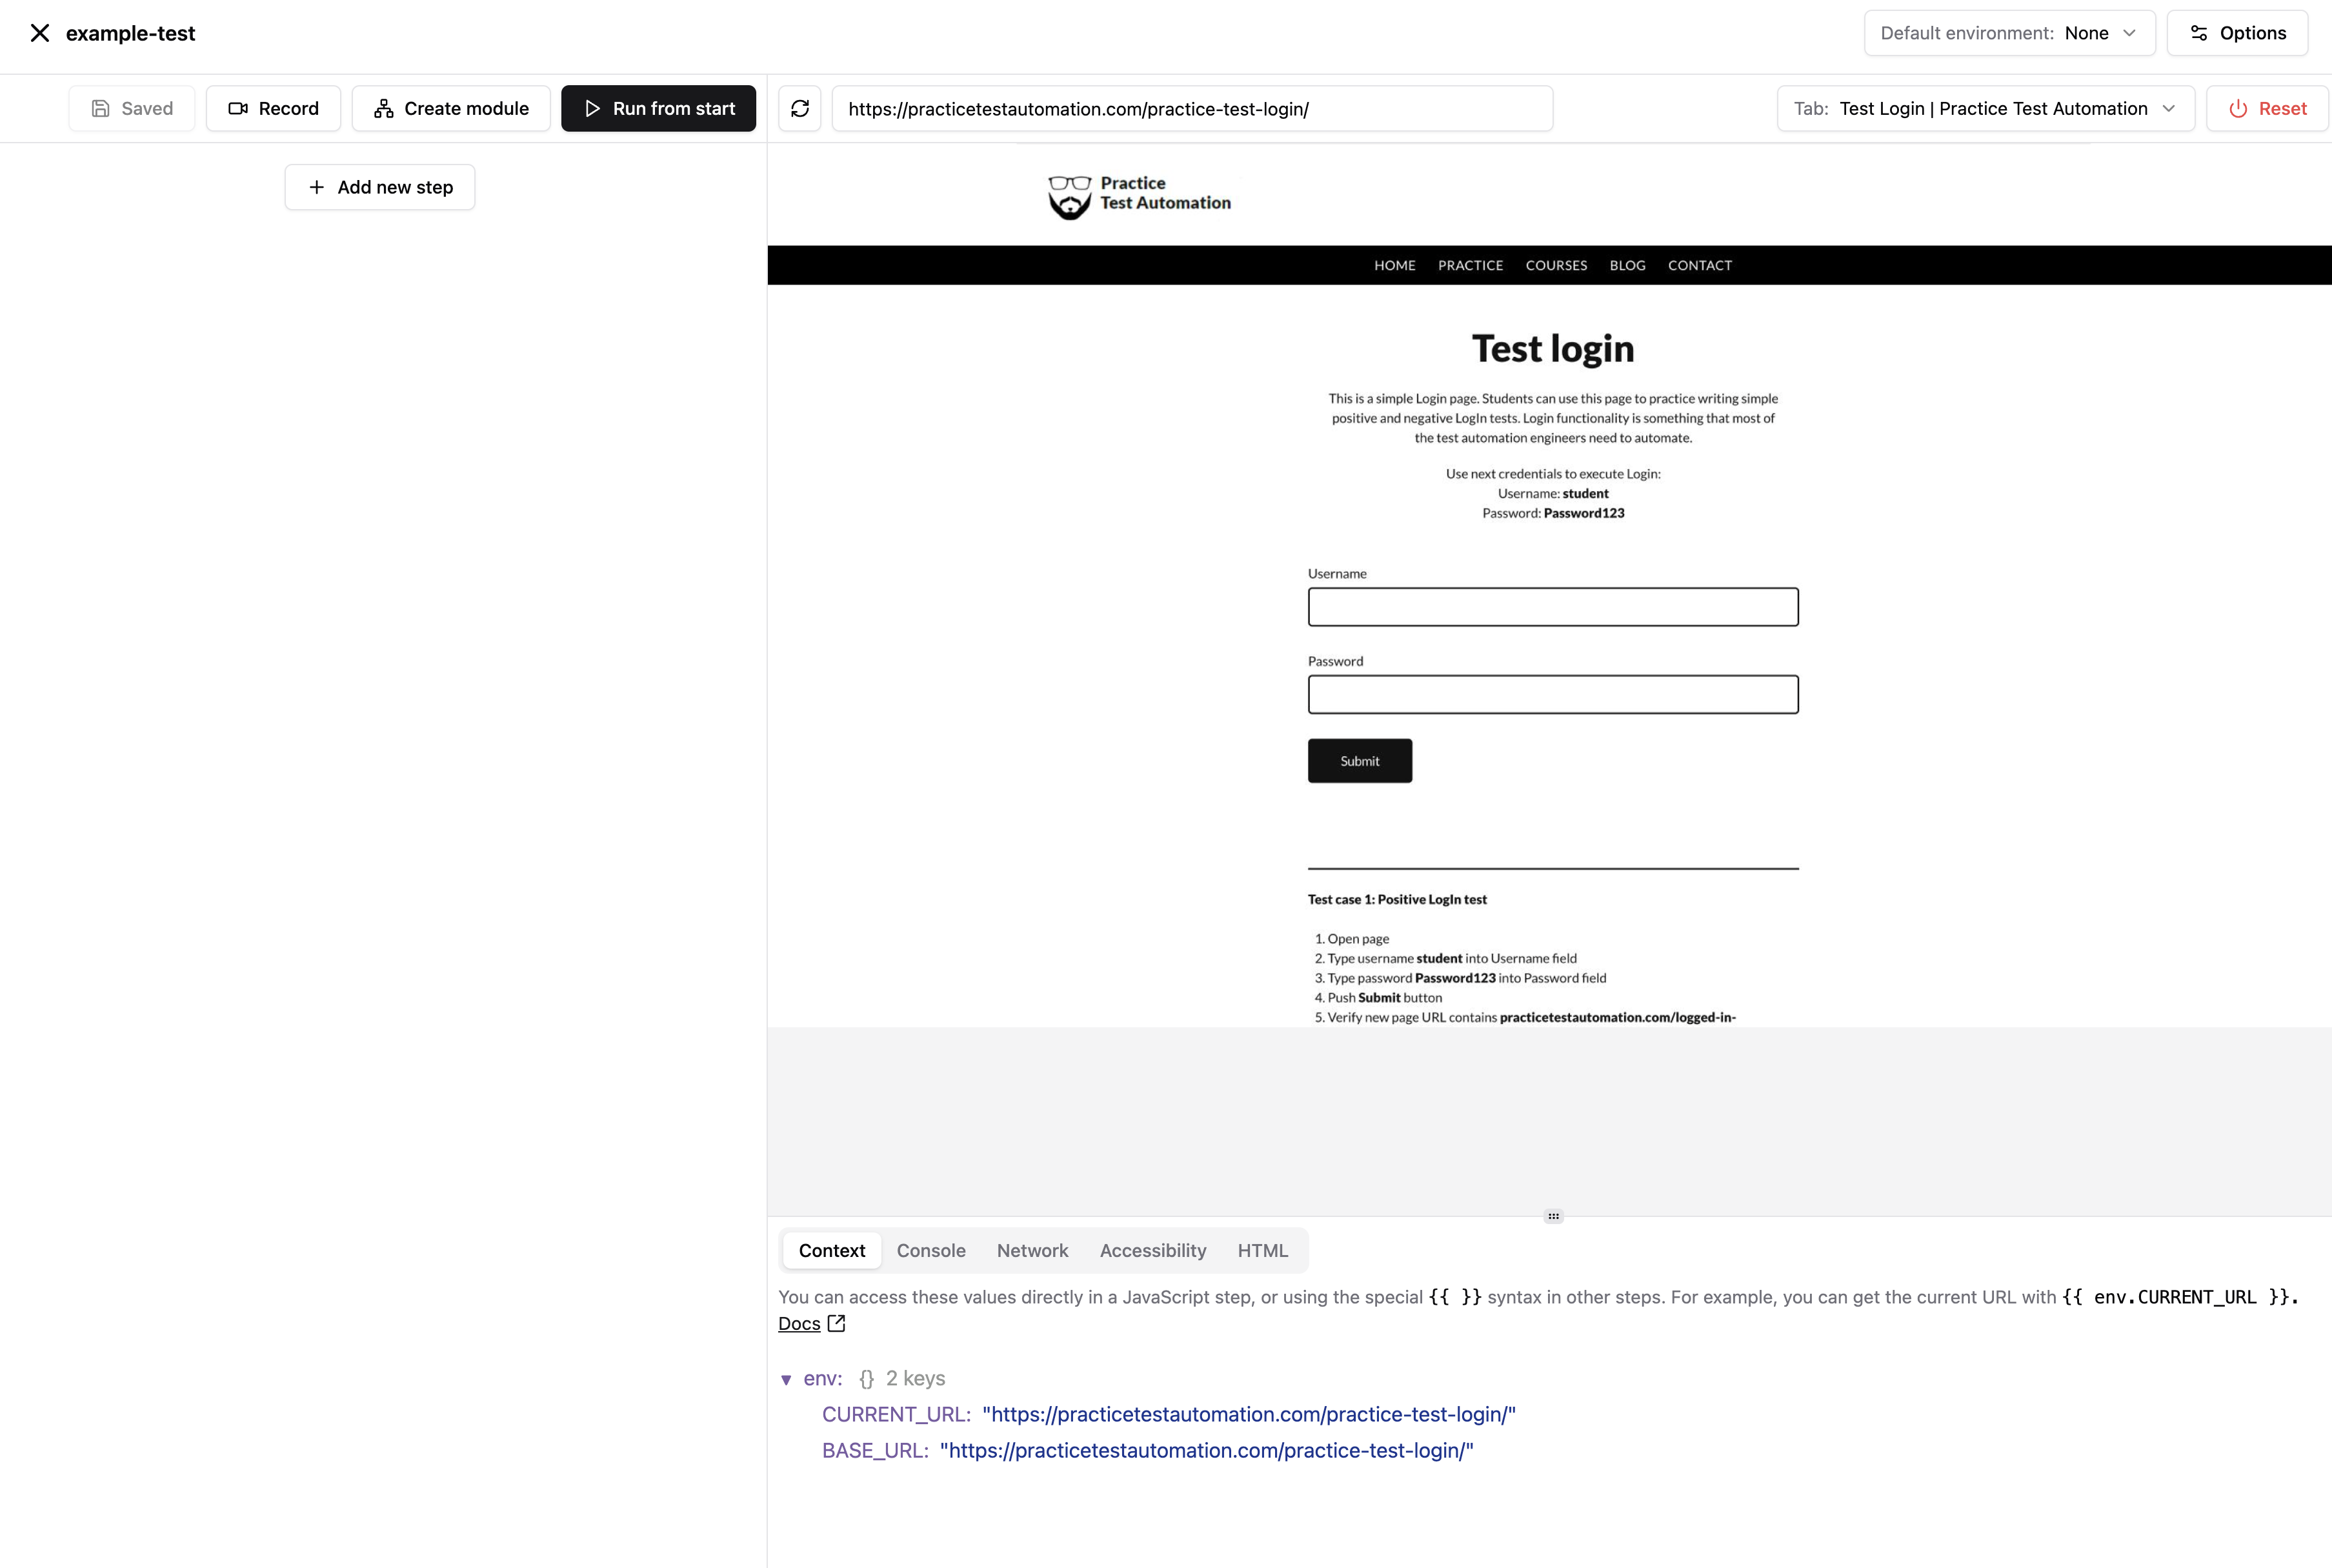
example-test.test.yaml. Changes are saved automatically, so you don’t need to worry about losing your work.
Run the test
You can run the test you just created by running the following command in your terminal:Next steps
Congratulations! You have successfully built and ran your first test with Momentic. Here are suggested next steps:Set up GitHub Actions
Integrate Momentic tests into your GitHub Actions workflows
Variables
Learn how to use variables to make your tests more dynamic and reusable